Google Summer of Code proposal submissions start 25th March, and for this year I decided to try for Apertus Organisation. I picked Apertus because of the following two reasons:
- Their code base is in C++, which is the only language I am quite familiar with.
- Their challenging task T872 is really fun to solve, since it taught me a lot ( PPM file format, Debayering algorithms, make files, dynamic linking, etc).
In this post I will share what I learned, and how I learned it, for solving the challenging task. I have added links to tutorials/guides wherever needed. After the submission, the mentors did gave me feedback to improve the code ( better indentation, splitting the code into functions, etc) which I will start working on right after writing this post.
The first task is –
- Write a C/CPP program for loading a RAW12 image into the memory – separate the 4 channels (in memory – 8 bits). Output the intensity values of the first 5×5 pixels (square tile) R, G, G, B channels.
I read about RAW12 iiles form Apertus Wiki , it’s a good resource to have some basic info about it. First task is to change the 12 bit values into 8 bit values and separate them into four different channels. ( If all this sounds confusing to you, have a look at this 6 minute video).
By reading previous year’s logs, I found out that one way to solve this is to read 3 bytes at a time and do some bit shifting ( later on, I was told this isn’t a good approach by one of the mentors) to covert them to 8 bit pixel values.
The second task is –
- Save the channels (separately) as valid image files (8 bits per pixel) named appropriately without use of any external libraries (e.g. openJPG/lodePNG). (Hint: PPM file format).
So this is a new challenge, last year students were allowed to use existing libraries to convert the data to png files using LodePNG. I had to convert them to PPM files. When I first read the linked page(provided by a mentor since I was too lazy to google it, don’t be lazy like me, use google), I was totally confused. You see, it mentions 2 types of PPM file formats, “raw” and “plain”. Raw format uses binary for pixel values where as plain format uses decimal.
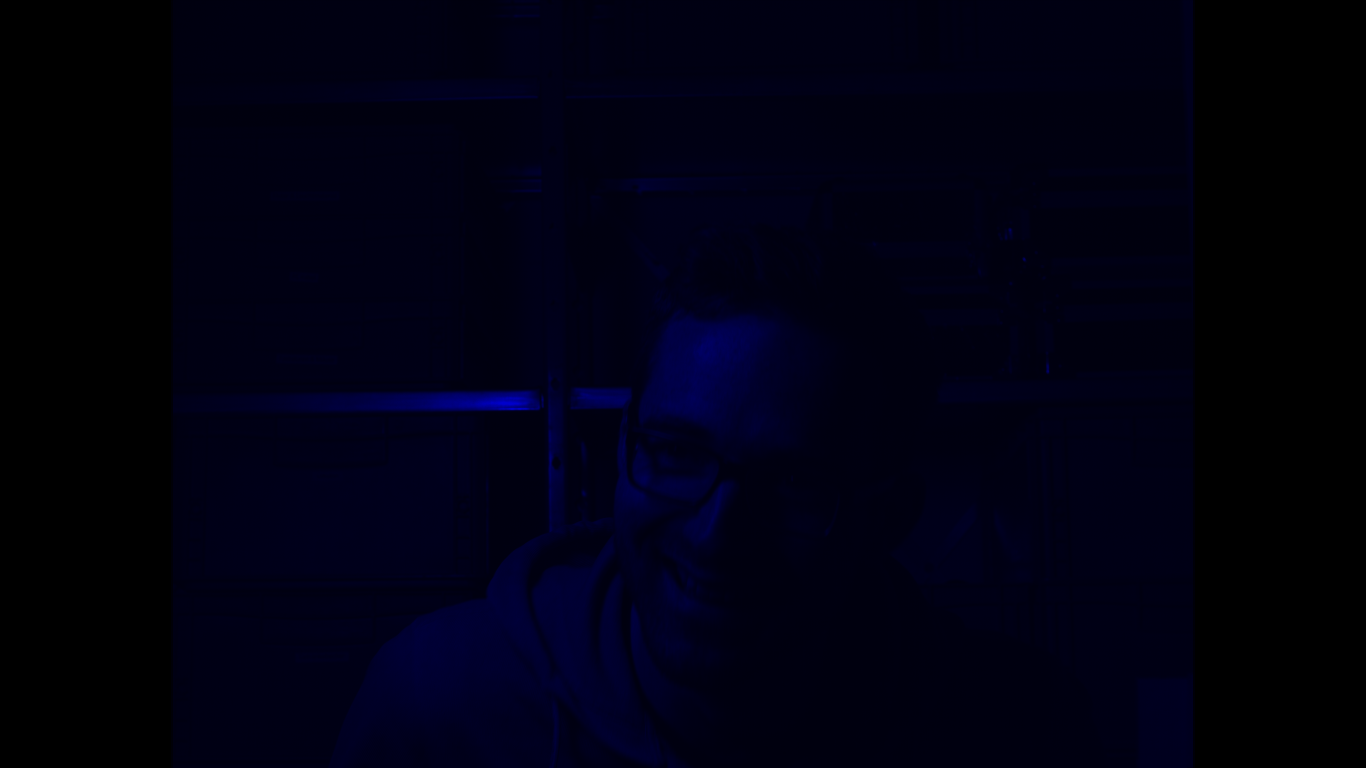
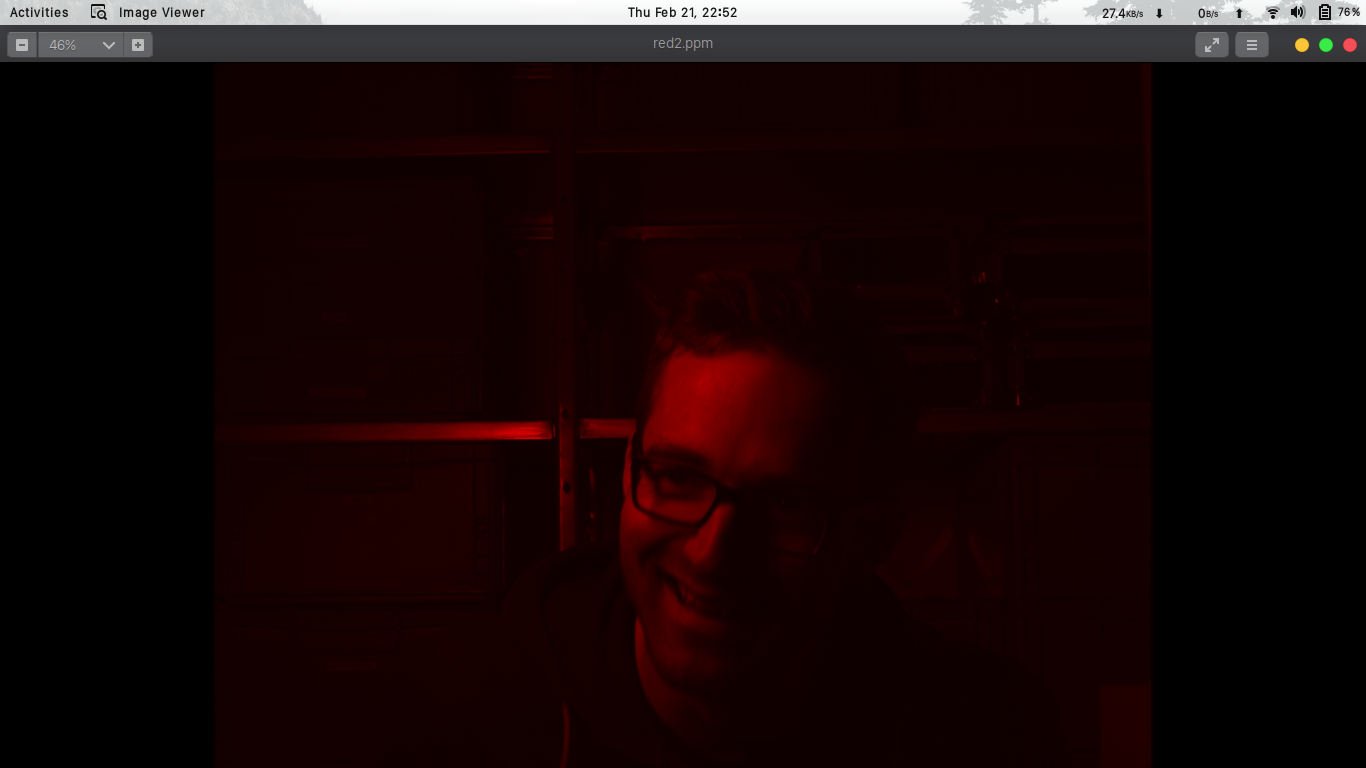
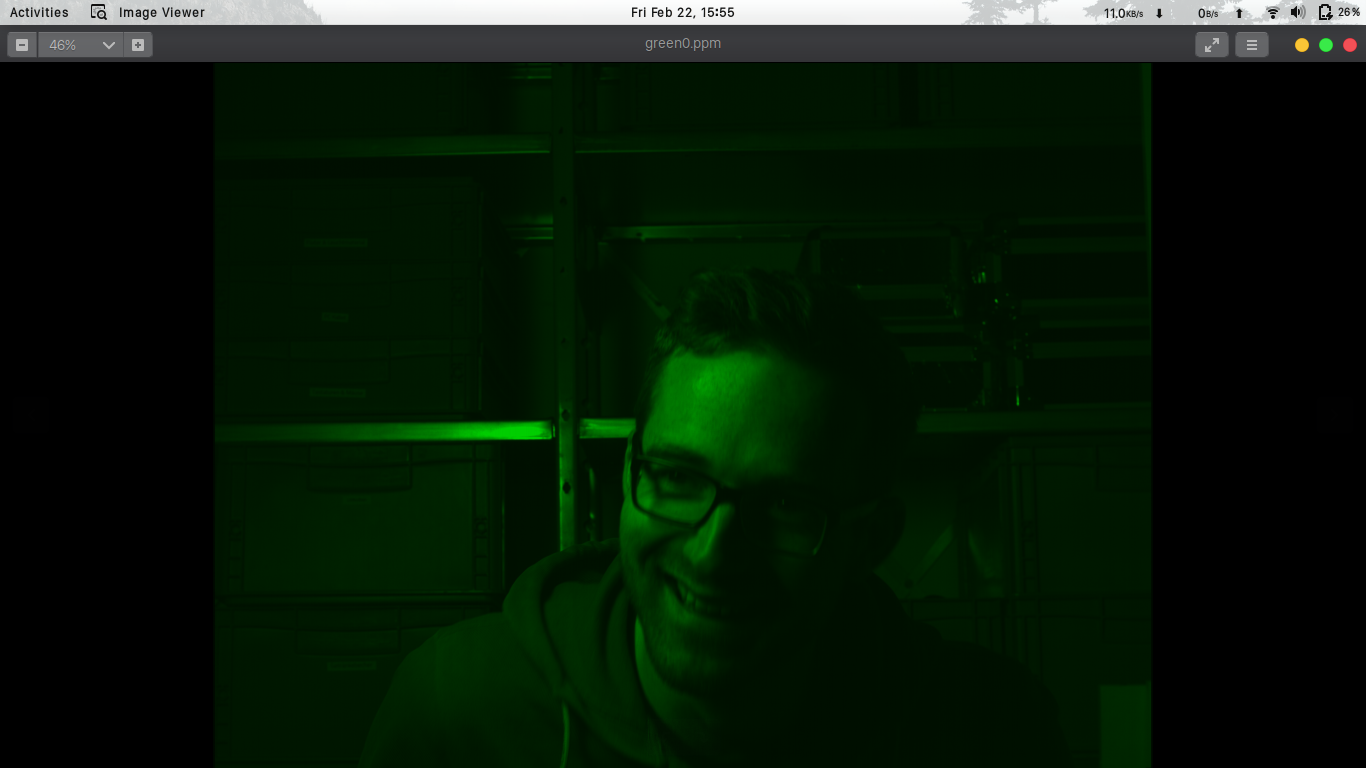
I tried to convert the data to a raw ppm file using binary values for each pixel, but that was giving me a greyish image. I asked about it on the IRC but got no help, so decided to use plain ppm format for each channel. This time, it worked and I got the following images as output -


This took me 5-6 hours, since most of the time went in trying to use the raw ppm format (which I STILL don’t understand). Anyway, this finished the second task. On to the third –
- Debayer the CFA (color filter array) data (in memory using nearest neighbour / bilinear) – output the image as a valid image file (8-bit, without use of any external library).
If you watched the video I linked earlier (this one), you will understand what debayering is. Basically, since every filter records only one colour, what we do is guess what the pixel value might be. Suppose we have only the red value, we will look around this red pixel and find out the average of the green and blue values and finally we will get the final colour of the pixel.
If you want a more comprehensive reading, read this pdf (which I used to study it). This pdf mentions 4 debayering techniques, but according to the task we can use either nearest neighbour or billinear interpolation(both of which are fairly simple). Now I needed to code it down.
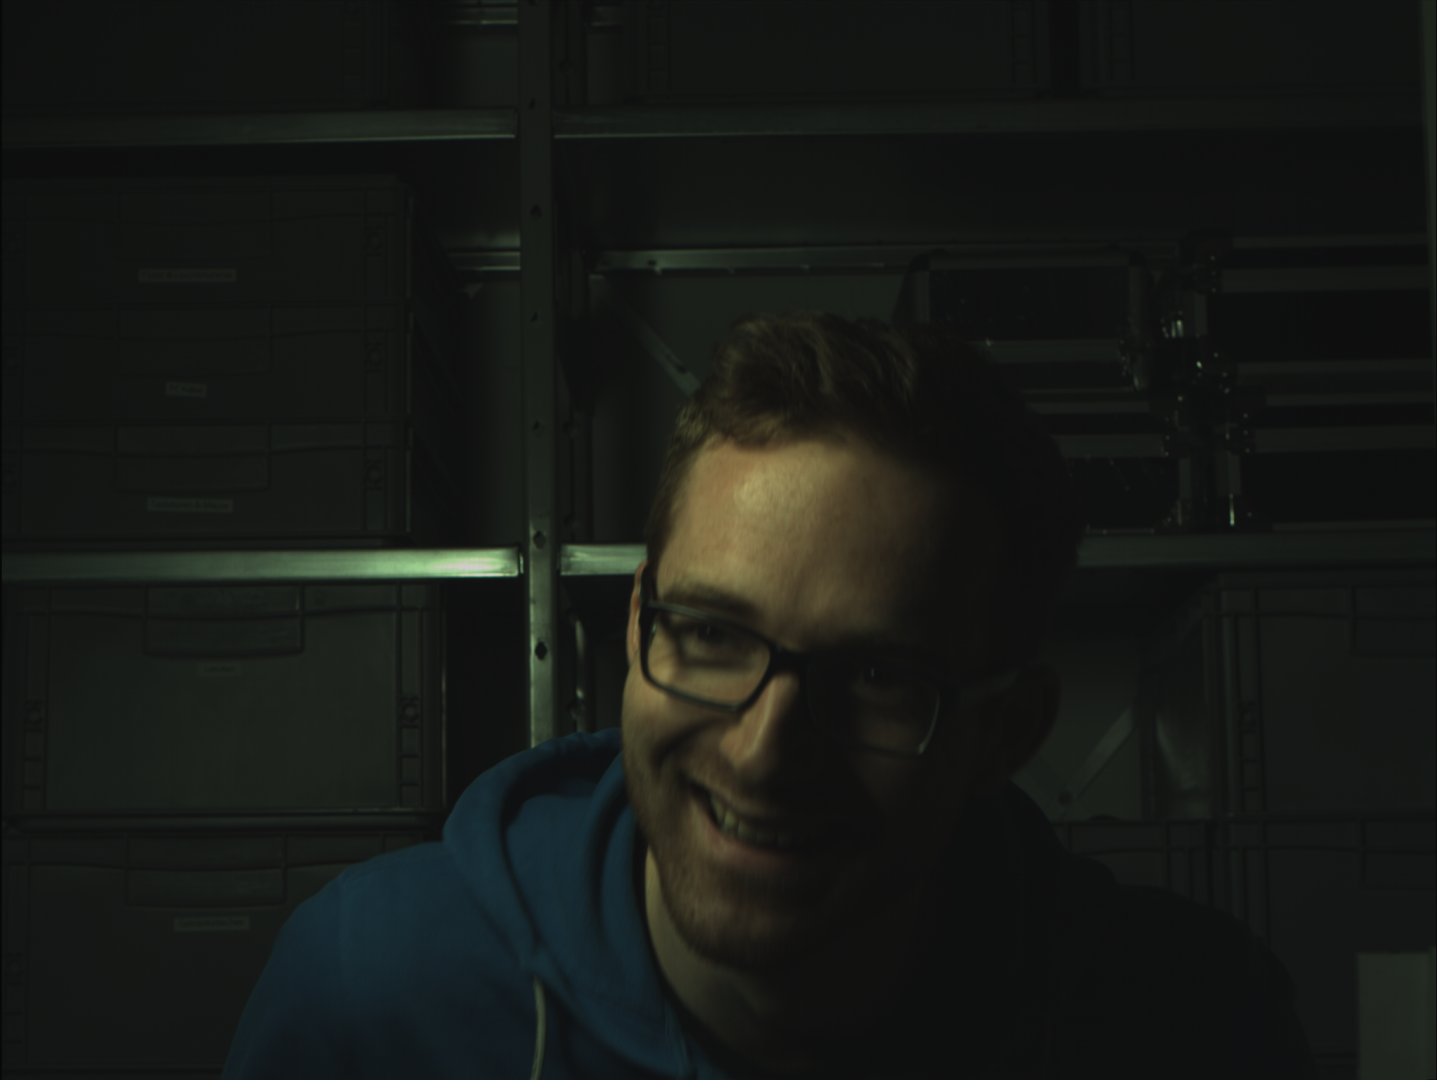
After debayering, the final image we get is –

That completes the first three tasks. There was an optional task which I might complete later this week.
After this, it also mentioned that we get “bonus points” if we –
- Use cmake for building the C/CPP program
- Abide by the C/CPP coding guidelines (https://gist.github.com/lefticus/10191322) and project structuring (create appropriate directories, header files, c/cpp files to modularize the code in meaningful ways). See collected information below.
- If you can load part of your program as a dynamic library (.so file)
- If you use a nonlinear curve for the 12 to 8 bit conversion, without ignoring the bottom 4 bits (lots of different solutions possible) and explain your choice (why did you choose that curve)
I decided to read about cmake, dynamic libraries and the C++ coding guidelines. This took me whole Sunday trying to understand everything and linking the parts. I finally made a CMakeLists.txt file, moved the debayering algorithm as a dynamic library to be loaded at runtime. But after dedicating 3-4 full days on this task, I got a bit lazy/tired. I should have followed the coding guidelines properly, I didn’t use proper modularization (splitting the code into functions), etc. These all came out when mentors went through my code.
I submitted my repository in the IRC, some of the comments I got are below (quoted from IRC chat):
- Biggest complain first, everything is in the main()
- Dynamic linking is a bit of overkill for such task, although you should use it for main task later.
- Pre-compiled libs are a no-go for a project.
- Also you need a header file for dynamic linking, so the functionality is really split.
- Not sure why folks can’t get code formatting right … it’s not really rocket science is it? 🙂
- It basically boils down to where to put spaces and where to avoid them consistently.
- Braces should be in the new line for c++, same line is so java and javascript.
- COLORImage looks a bit of a mix of C and C++, ColorImage is better as a variable name.
- Just a side note, no need to use uint32_t for sizes, like 4096, as uint16_t is sufficient.
- Please split the code in functions.
- Seems quite a monolithic code.
- Line 86-97 is a bit of an issue… 5×5 means the square tile containing 5 rows, 5 cols (first ones).
So, after the reviews I received for my first challenge submission, I decided to do the following tasks –
- Refactor the code to separate it into different modules, using header files etc.
- Change the formatting, adhering to the C++ standards, like using lower camel case for variables ( myVariable ) and upper camelcase for functions ( MyFunction ).
- Change the indentation, using 4 space width, and using the opening braces in the next line and not the same line.
- Updating the CMake script so that it makes the dynamic object, and not the way I did it previously.
I also decided that I will be working on project T763, Frameserving Capabilities for OpenCine, so I had to complete the additional goal of storing the debayed image as a BMP file or as a frame in AVI format. Here’s a breakdown of how I approached the tasks –
Refactoring the code, working on formatting
This was easy, just had to to create new header files with function declarations and variables, following proper OOP guidelines, cpp file for function definitions, etc.
Changing the CMake Script
So last time, I created the dynamic file on my own using this guide, but this should be done by the CMake script, not me. A simple google search gave me a lot of tutorials on CMake and how to add the dynamic file, but if I had to recommend one, watch this video on dynamic linking.
Studying about BMP file format
The additional goal for T763 was saving the debayed image as a BMP file OR as a single frame in an AVI file. I decided to learn BMP file first and if time remains, I will try AVI too.
This one was the most frustrating task as I stumbled on so many obstacles. I will break this task down into different sub-tasks which I needed to perform –
- Understand the BMP file format.
- Implement the BMP file format.
- Debug the BMP file format.
Understanding it was easy, there are a lot of resources online to read the structure of the BMP file. Just a quick google search would suffice. The problem was implementing it and then debugging it. I read this tutorial and it already had the code to read/write BMP file.
If you checked the linked tutorial, you will find the guy used #pragma pack. Google what it is and what it does. The problem with this piece of code is, it isn’t portable, it was MSVC specific. And if I don’t use it, the BMP file gives the error of “unsupported header size”. This was some padding issues which can be fixed by declaring a new structure for the magic number of BMP file format. You can find the final code here. Read the BMP_HEADER file and you will see how I removed the pragma push.
Also the worst part is, BMP file stores pixel in a different format…so had to calculate a mathematical forumula ( took me 1 hour..) to convert my saved pixels for BMP file. Oh well worth the effort I guess.
Writing it here feels like it was so easy, but oh boy did it take time. Do checkout my github for the final code. Repo name is Apertus-T872
Here is the link – https://github.com/Parimal7